Order Blocks
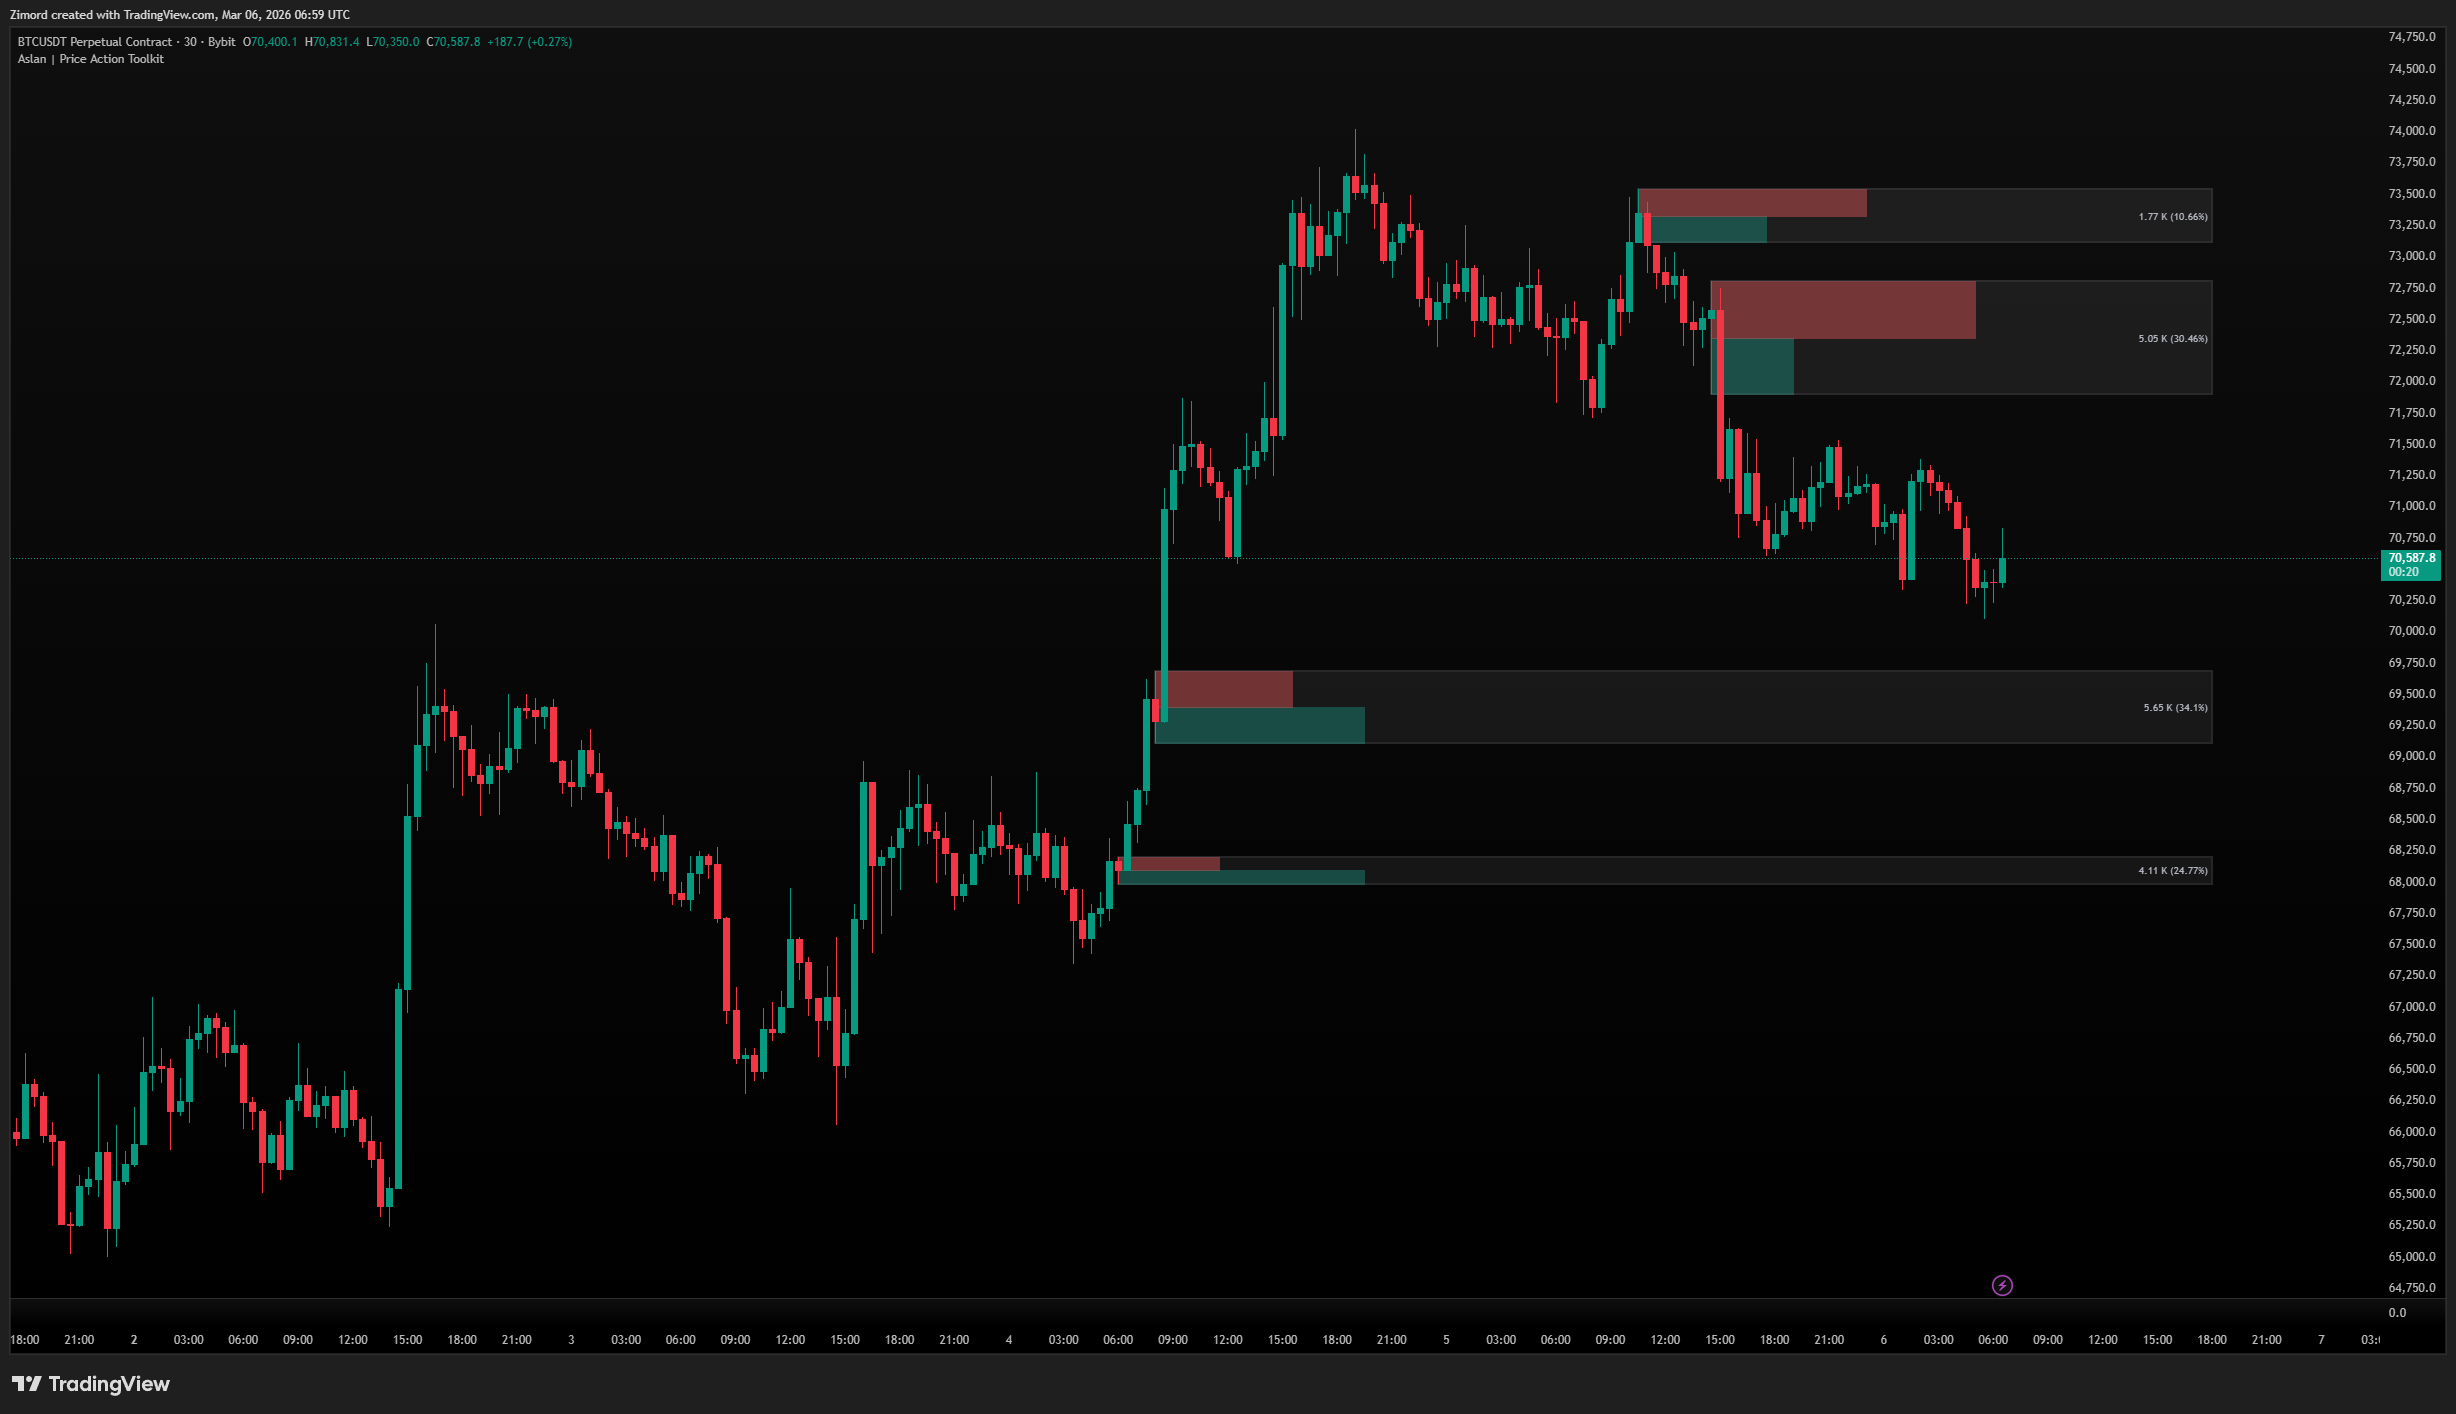
Order Blocks are the foundation of SMC trading. They represent specific candles or zones where institutional traders placed large orders, leaving a footprint in price. When price returns to these zones, institutions often defend them again — making OBs powerful support and resistance areas that are grounded in actual order flow rather than arbitrary technical levels.
What it shows:
- Bullish OBs — zones below current price where buying pressure originated, acting as potential support
- Bearish OBs — zones above current price where selling pressure originated, acting as potential resistance
- Internal OBs — formed within the current swing, representing smaller institutional interest
- External OBs — formed at major swing highs and lows, representing larger timeframe institutional interest
- Bull/Bear volume activity visualized inside each block as colored bars showing the ratio of buying to selling pressure within that zone
How to use it:
- Enable or disable OBs entirely and control how many appear at once using the Max Order Blocks setting — keeping this lower reduces clutter and focuses your attention on the most recent and relevant zones
- The Mitigation Method is one of the most important settings as it determines when the indicator considers an OB to have been used and removes it from the chart. Touch removes it on first contact, Wicks removes it when a wick penetrates the zone, Close only removes it after a candle closes through it, and Average removes it when price reaches the 50% midpoint — each method suits a different trading style and risk tolerance
- Switch between Zones and Lines display modes depending on your visual preference — Zones show the full block as a filled rectangle while Lines show only the key edge as a clean horizontal line
- Enable MTF Order Blocks to pull in OBs from a higher timeframe (default 4H) and overlay them on your current chart, allowing you to see where higher timeframe institutions were active without switching charts
- The Mid Line toggle adds a line through the center of each OB at the 50% level — this is particularly useful because price frequently reacts at the midpoint before fully testing the extremes
- Extend OBs projects all active blocks to the right edge of the chart so they remain visible even as price moves far away from them
- The internal volume visualization inside each zone is one of the more unique features — it tells you whether the block was formed with predominantly buying or selling volume, giving you a sense of conviction behind the zone
Pro tip: Not all order blocks are equal. The strongest OBs are those that caused a significant market structure break, that have not been previously tested, and that sit inside a discount zone (for bullish OBs) or premium zone (for bearish OBs). Combining OB location with the Dealing Range reading dramatically improves selection quality.
Imbalances
Fair Value Gaps are price imbalances created when the market moves so aggressively in one direction that a gap forms between two non-overlapping candles. These gaps represent areas where price effectively skipped over, and the market has a natural tendency to return and fill them — either partially or completely — before continuing.
What it shows:
- Bullish FVGs — gaps created during strong upward moves, which price often returns to from above as a support zone
- Bearish FVGs — gaps created during strong downward moves, which price often returns to from below as a resistance zone
- A midline through each FVG showing the exact 50% fill level, which is commonly the most reactive price point within the gap
- Progressive shading inside the gap that updates as price enters and partially fills it, giving you a real-time view of how much remains unfilled
How to use it:
- The FVG Timeframe setting allows you to pull gaps from a higher timeframe and display them on your current chart — a 4H FVG visible on a 15-minute chart carries significantly more weight than a 15-minute FVG alone
- Max FVG Width filters out overly large gaps that may be less reliable — typically you want gaps that are meaningful but not so large that they represent disorderly markets
- FVG Filtering automatically removes tiny, insignificant gaps that fall below a dynamic threshold based on the current price range, keeping your chart focused on actionable levels only
- The Mitigation Method controls when a gap is considered filled and removed — the Average method (which removes the gap when price reaches the midpoint) is popular among SMC traders because the 50% level is frequently the actual reaction point
- Mark FVG Fill visually tracks how much of each gap has been penetrated, making it easy to see partially filled gaps at a glance
- The Mid Line is particularly important within FVGs — many traders use the midpoint exclusively as their entry target rather than waiting for price to reach either edge of the gap
- Extend FVG Zones keeps unfilled gaps projected forward even as bars accumulate to the right
Pro tip: The most powerful FVGs are those that were created by a displacement candle — a large, abnormally strong candle that also caused a market structure break. These displacement-created FVGs are much more likely to hold as support or resistance than ordinary gaps.